Minecraft, the globally beloved sandbox game, is readily accessible on a wide range of devices, including Chromebooks. This guide details how to install and optimize Minecraft on your Chromebook, addressing common questions and performance concerns.
Table of Contents
- General Information About Minecraft on a Chromebook
- Enabling Developer Mode
- Installing Minecraft on a Chromebook
- Running the Game
- How to Play Minecraft on a Chromebook with Low Specs
- Enhancing Performance on Chrome OS
General Information About Minecraft on a Chromebook
For optimal Minecraft performance on a Chromebook, these minimum specifications are recommended:
- System Architecture: 64-bit (x86_64, arm64-v8a)
- Processor: AMD A4-9120C, Intel Celeron N4000, Intel 3865U, Intel i3-7130U, Intel m3-8100Y, Mediatek Kompanio 500 (MT8183), Qualcomm SC7180, or better.
- RAM: 4 GB
- Storage: At least 1 GB of free space
These are minimum requirements; performance may vary. Addressing performance issues is covered later in this guide.
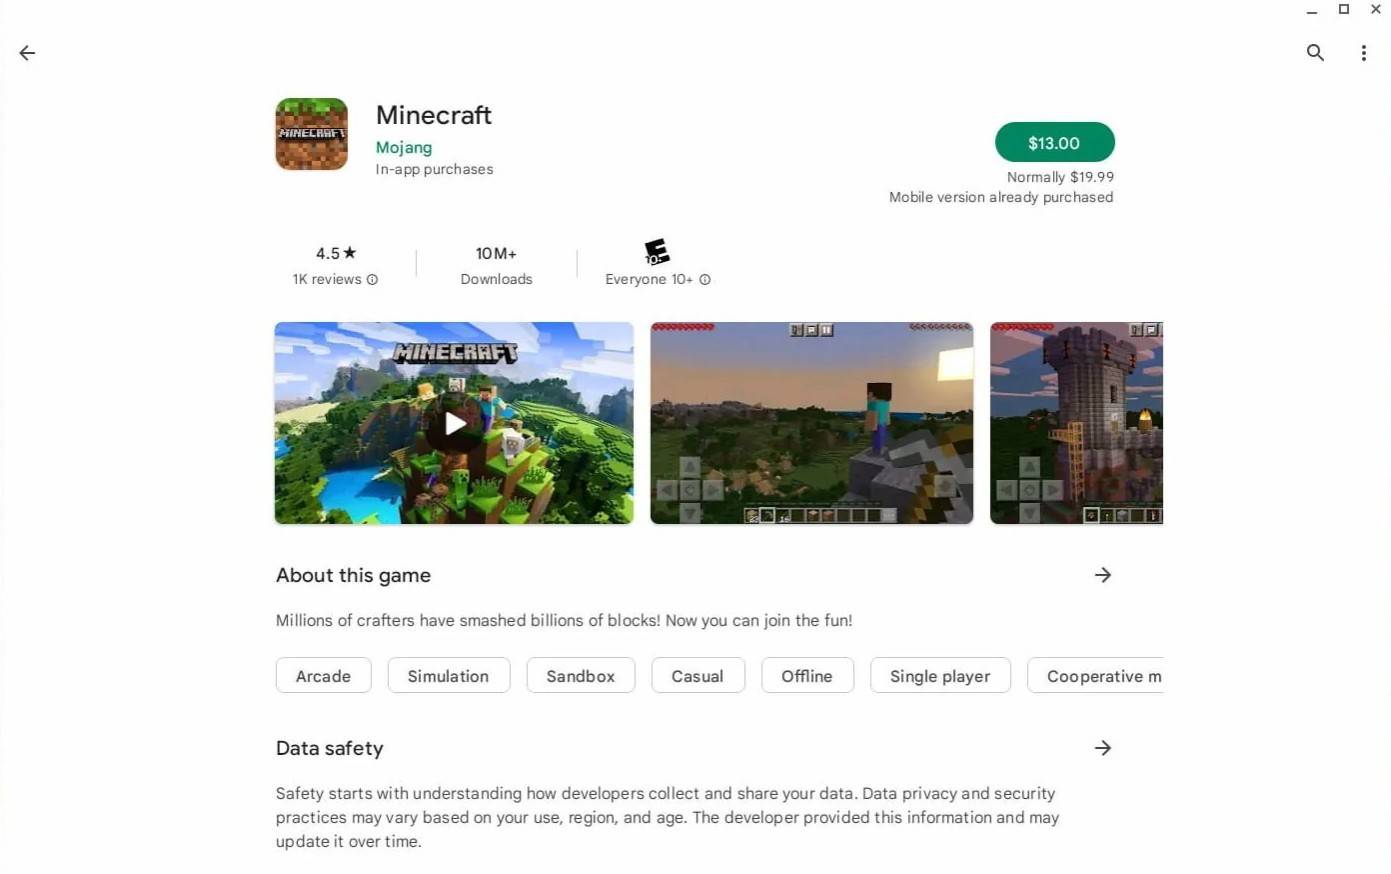
The easiest installation method is via the Google Play Store. Simply search for "Minecraft," purchase the Bedrock Edition (note: this may require an additional purchase if you already own the Android version), and install.
However, if you prefer alternative methods, Chrome OS's Linux compatibility offers another route. This method requires more technical steps, detailed below.
Enabling Developer Mode
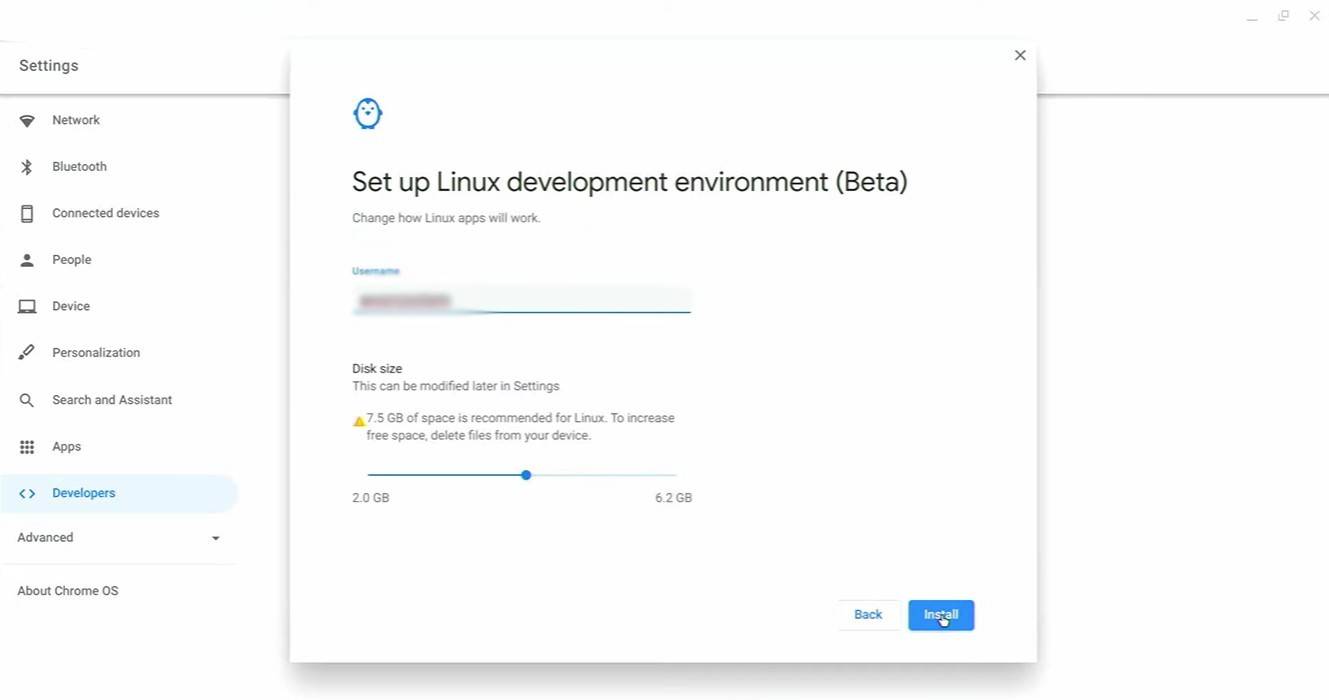
Before installing via Linux, enable Developer Mode. Access your Chromebook's settings (usually via the system tray), navigate to the "Developers" section, and enable the "Linux development environment." Follow the on-screen prompts. Upon completion, the Terminal will open, ready for further commands.
Installing Minecraft on Chromebook
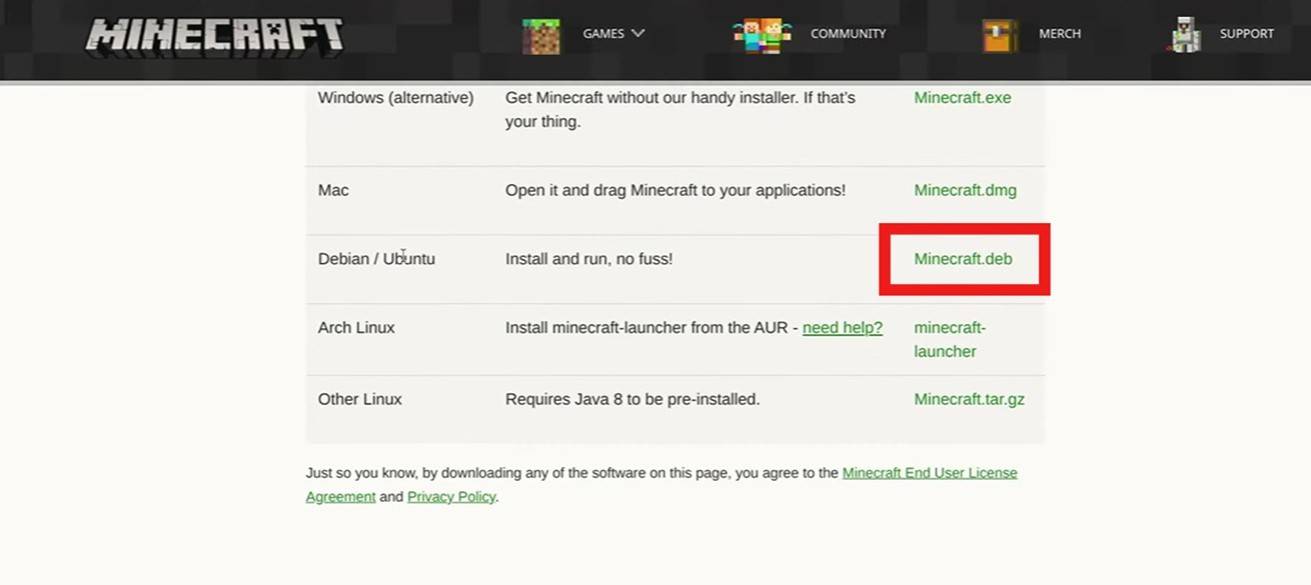
[Further instructions on installing Minecraft via Linux on Chromebook would go here. This section needs detailed, step-by-step instructions including any necessary commands.]
 Latest Downloads
 Downlaod


 Top News